
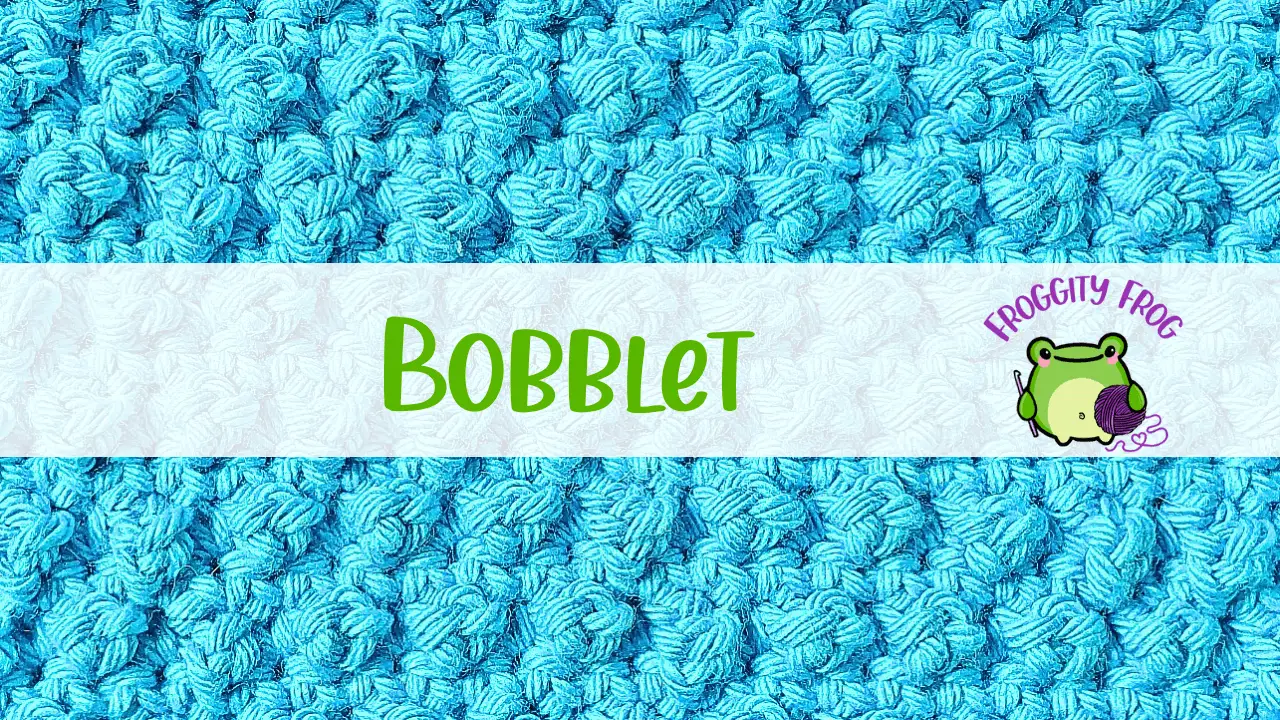
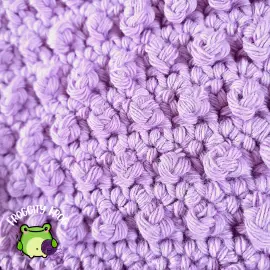
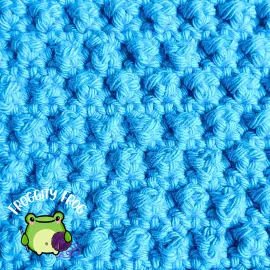
The Bobblet stitch creates cute little bobbles on one side of your crochet to give a lovely mini bobbly texture, perfect for cushions, blankets and detail on clothing. In this stitch guide I will show you how to crochet the Bobblet stitch with all the pictures that you need along with a video guide that you can follow along with too.
This article contains affiliate links, I may receive a commission for purchases made through these links. As an Amazon Associate, I earn from qualifying purchases.
I first used the Bobblet stitch as one of the featured squares in my 50 Stitches crochet along. I then used it again during my Country Garden crochet along where I used it as a colour work stitch, where I changed colours to make the Bobblet itself, but switched to a different colour for the background.
The Bobblet looks just like a mini bobble, but it is made by making a chain of stitches fold over. This means that you can control how big or small your Bobblet is by changing the number of chains that you make.
The Bobblet stitch would suit a variety of projects where you would like to have a subtle texture such as kids clothing, blankets or wraps.
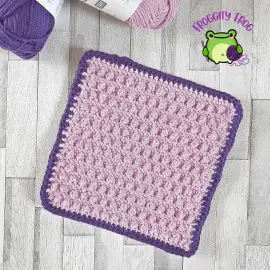
Using the Bobblet stitch in different or the same colours really changes the look of this cute little stitch as you can see with the pictures below.

This how to guide is part of Froggity Frog’s Stitch Vault collection. Have you seen all the other stitches in there? You can take a look here all the guides are free to access and maybe you will discover some new stitches to create for yourself.
The yarn I used in this stitch guide is Stylecraft Cotton Classique DK, a 100% cotton yarn. It’s a non mercerised cotton that is lovely and soft, but it can get a bit splitty if you frog it a couple of times. It does makes lovely cosy blankets though and is the yarn that got me hooked on cotton as my fibre of choice. I think I first got a ball of this yarn in a mystery bag I got off ebay, and it was a great yarn discovery for me.
I also used my trusty Clover Amour hooks which are perfect if you are looking for a good value ergonomic crochet hook that won’t cause your hand to ache if you are crocheting for long periods of time. I’ve tried many different crochet hooks over the years, but I always end up coming back to my trusty Clovers. They just sit so well in my hand and never let me down.
How To Crochet The Bobblet Stitch
Click here for the left hand video
The stitch guide below is written in US terms
Abbreviations
- St = Stitch
- Ch = Chain
- Sc = Single Crochet
- Slst = Slip Stitch
For this stitch you should start with a foundation chain in multiples of 2 (plus 2 for your turning chain)
Row 1. In the 3rd chain from your hook make a sc (the turning chain counts as the first stitch of your row). Make a sc in each chain across.
Row 2. Turn and chain 1. Make a sc in the first stitch and then in the next stitch make a Bobblet stitch (insert hook and pull up a loop. Chain with the first loop on your hook only – like in the picture below. Then slst through the last loop). This is your Bobblet.
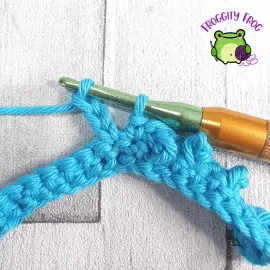
*sc in the next stitch, make a Bobblet in the next stitch*
Repeat between *and* then make a sc in the last stitch of the row.
Row 3. Turn and chain 1. Make a sc in the first stitch then make a sc in every stitch across.
Row 4. In this row we want to offset your Bobblets. Turn and chain 1. Make a sc in the first stitch and in the next stitch too. In the next stitch make an Bobblet. *sc in the next stitch, make a Bobblet in the next stitch*
Repeat between *and* and then make a sc in each of the last 2 stitches of the row.
Row 5. Turn and chain 1. Make a sc in the first stitch and then make a sc in every stitch across.
Repeat rows 2 to 5 ending in a repeat of row 3 until you have the number of rows that you need for your project. Then you can cut off, weave in your ends and admire your wonderful handy work.
You can find more free crochet stitch guides here in Froggity Frog’s stitch vault. Come on over to our Facebook group – Froggity Frog’s Ribbit And Stitch and show us what you made with the Bobblet stitch. I’d love to see what you created.
Don’t forget to sign up to our newsletter to be the first to know about new stitch guides and new crochet pattern releases. You can sign up here and be the first to see what I’ve got cooking behind the scenes here at Froggity Frog.

0 Comments
Trackbacks/Pingbacks