
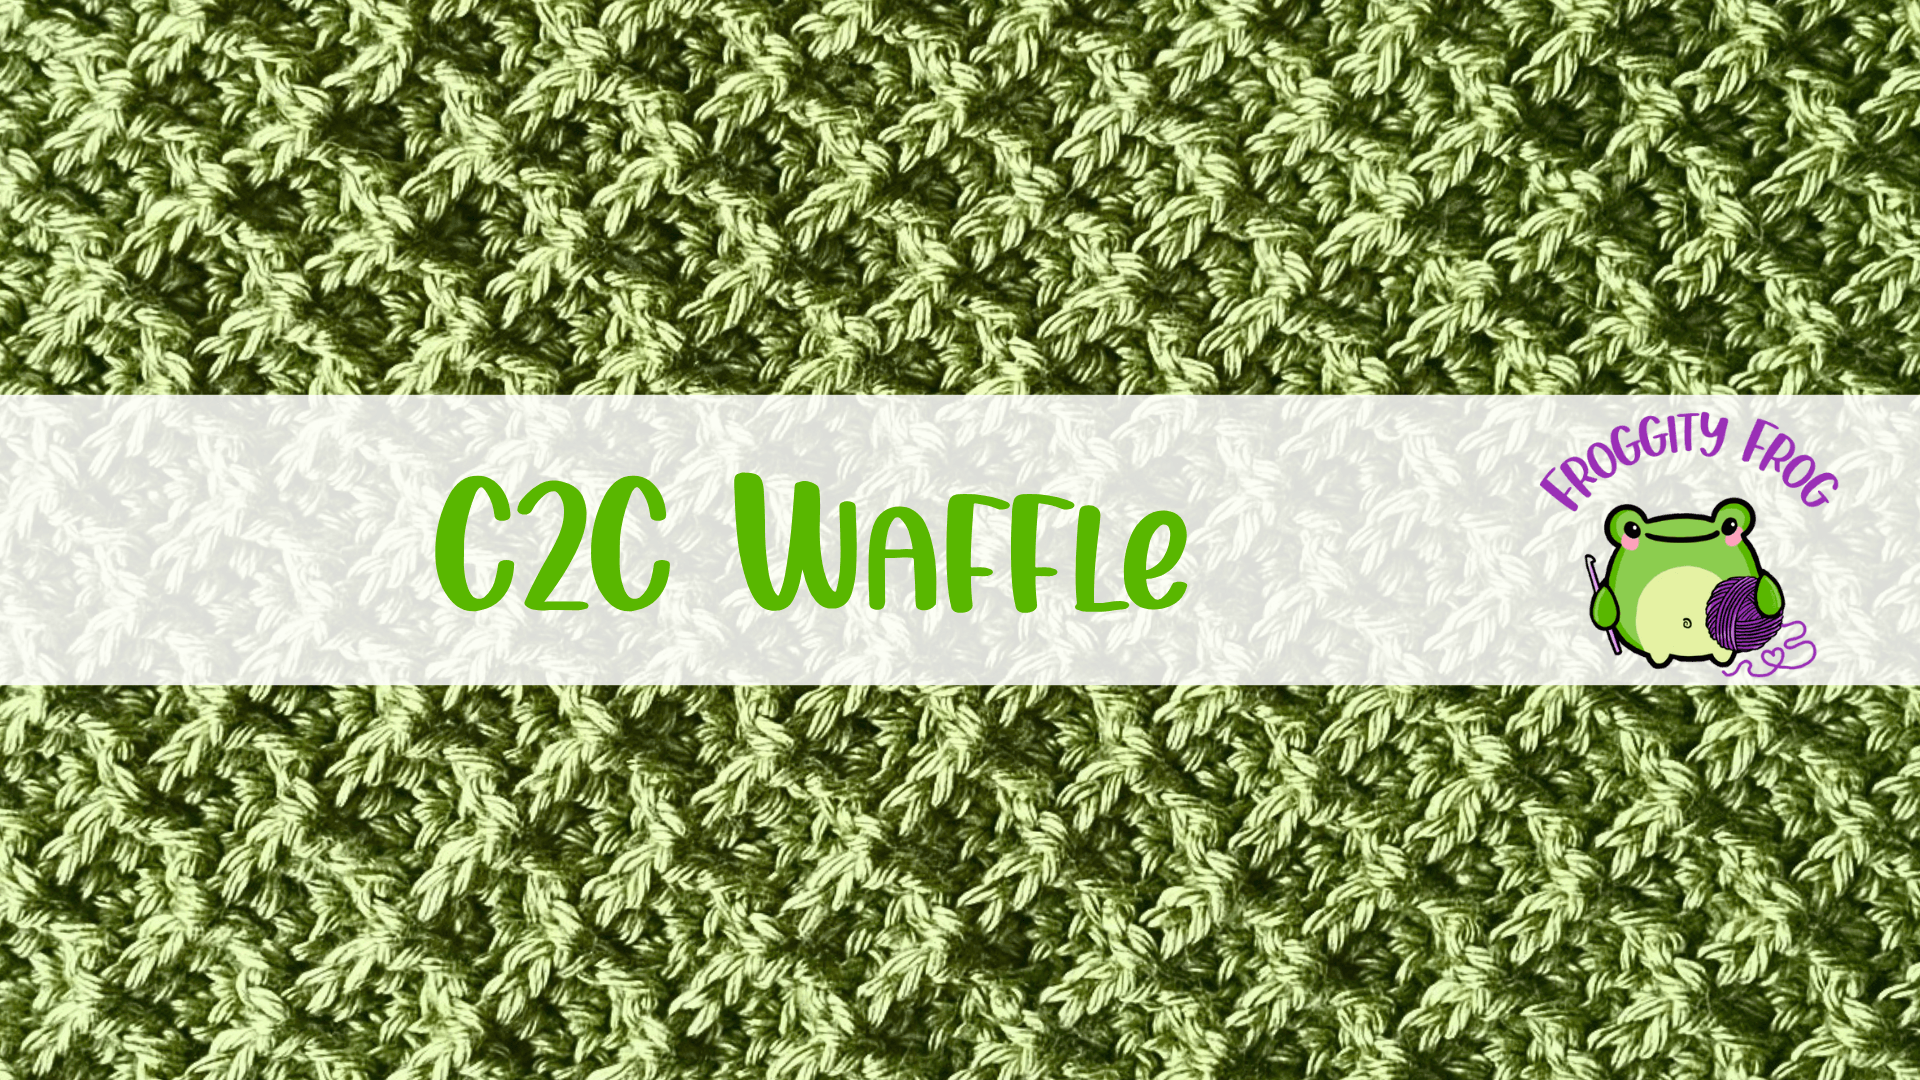
The Waffle stitch made in rows is a very popular and much-loved crochet stitch. It looks like a grid of squares with lots of texture, which makes it a regular choice for baby blankets and sweaters. But what if you could turn this stitch from a grid of squares to a grid of diamonds? Well, I’m going to show you how with the Corner-to-Corner (C2C) Waffle stitch. Keep reading for the free video and the written stitch guide.
C2C Waffle Stitch Video Tutorial
To crochet the C2C Waffle stitch with me, watch the video below, or for the left-handed C2C Waffle stitch video click here.
What Is the C2C Waffle Stitch?
The C2C Waffle stitch looks like you’ve taken the regular Waffle stitch and turned it around 45 degrees. That’s why it goes from looking like squares to diamonds.
The texture that is loved so much remains – it’s just literally a twist on the stitch.
To make this stitch, we start working in the bottom corner, and then increase the stitches with every row until we reach the width we need.
After that, we decrease the number of stitches in every row to work back to a point before we make our last row, which is not made the way you think it would be, but I’ll show you how that works in the stitch guide.
Once we get the starting rows out of the way, the pattern is a 2-row repeat. Repeat the same 2 rows to make the increase section, and then there’s another 2-row repeat for the decrease section.
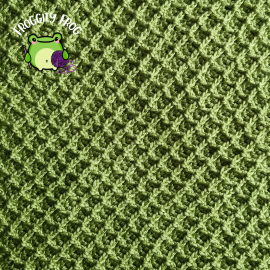
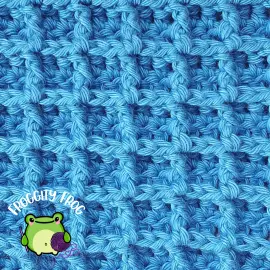
Vs
Why You’ll Love the C2C Waffle Stitch
The C2C Waffle stitch is just as wonderfully textured and creates a thick and warm fabric perfectly suited for any winter project, just like the regular Waffle stitch. It is slightly more challenging to make than the regular version in rows, just because of the increases and decreases at the start and end of each row. But between those, the stitch is made exactly the same way.
You can use this stitch for blankets, sweaters, cardigans and more. This stitch works up quickly and once you get used to how the rows start and end, it works up easily too. It uses a similar amount of yarn as the Waffle stitch in rows, but despite all the texture it’s still not a yarn eater of a stitch, while giving you a different spin on a stitch you may have made many times before.
What I Used
In the video and in the photos here, I used Caron Simply Soft in the shade Pistachio. My hook was a gift from a friend, but I believe it was made by a seller on Etsy and is a 5mm (US H-8) hook.
But you can use any yarn of your choice to make this stitch, using the hook size that is recommended on the label.
I first used the C2C Waffle stitch as one of my squares in my Study Of Corners Crochet Along and now I’m bringing you the stitch guide that you can use for any project you decide to make.

How to Crochet the C2C Waffle Stitch
Abbreviations
All abbreviations are in US terms
- Ch = chain
- St = stitch
- Slst = Slip Stitch
- Chsp = Chain Space
- YO = Yarn Over
- Dc = double crochet
- Fpdc = Front Post Double Crochet
- Dc2tog = Double crochet 2 together
- Dc3tog = Double crochet 3 together
- Dc5tog = Double crochet 5 together
A note about turning chains: in the pattern instructions I state to make a dc turning chain. I use a stacked or alternate turning chain, but you could also make a ch2 as your turning chain. The choice is yours about what type of turning chain you would like to use. I have a video here which shows you the different type of turning chains you can use.
You can follow the written instructions below, or follow along with the videos.
Start by making a foundation chain of 4.
Row 1. In the 4th ch from your hook make 2 dc (your turning ch counts as the first st of the row) – 3dc
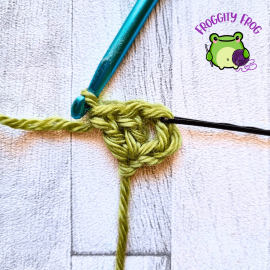
Row 2. Turn and ch1. Make a dc turning chain in the first st of the row, then make 2 dc also in the first st. Make a fpdc around the next st, then make 3dc in the last st of the row – 7st
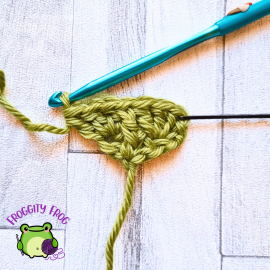
Row 3. Turn and ch1. Make a dc turning ch in the first st and then make a dc also in the first st. Make a fpdc around each of the next 2 st. Then make a dc in the next st followed by a fpdc around each of the next 2 st. Make 2dc in the last st of the row – 9st
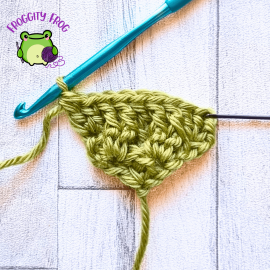
Row 4. Turn and ch1. Make a dc turning chain in the first st of the row, then make 2 dc also in the first st. *Make a fpdc around the next st, then make a dc in each of the next 2 st*. Repeat between *and* until you have 2st left. Then make a fpdc around the next st and finish the row by making 3dc in the last st – 13st
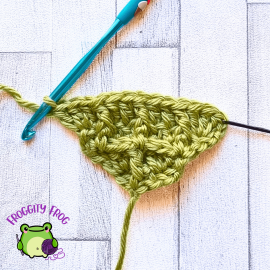
Row 5. Turn and ch1. Make a dc turning ch in the first st and then make a dc also in the first st. *Make a fpdc around each of the next 2 st. Then make a dc in the next st*. Repeat between *and* until you have 3 st left. Finish the row by making a fpdc around each of the next 2st, then finish the row by making 2dc in the last st – 15st
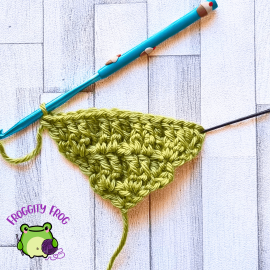
Repeat rows 4 and 5. End your increase on a repeat of row 4
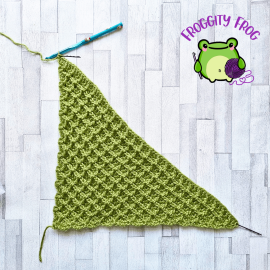
Now we start the decrease. You must start the decrease after finishing a repeat of row 4 of the increase.
Decrease Row 1. Turn and ch1. Make a dc2tog over each of the first 2 st.
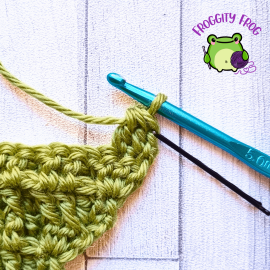
*Make a fpdc around the next st, then make a dc. Make a fpdc around the next st*. Repeat between *and* until you have 2 st left, then finish the row by making a dc2tog over the last 2 st.
Decrease Row 2. Turn and ch1. Make a dc3tog over each of the first 3 st – working the 3rd part of the st as a fpdc.
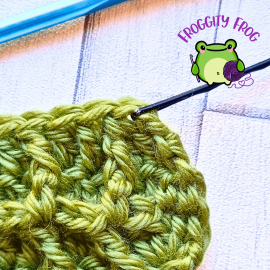
*Make a dc in each of the next 2 st, then make a fpdc around the next st*. Repeat between *and* until you have 5 st left. Make a dc in each of the next 2 st. Finish the row by making a dc3tog over each of the last 3 st, working the first part of the st as a fpdc.
Repeat decrease rows 1 and 2 until you have 9 st left.
Penultimate Row. Turn and ch1. Make a dc2tog over each of the first 2 st. Make a fpdc in the next st, dc, fpdc. Then finish the row by making a dc2tog over the last 2 st – 5st
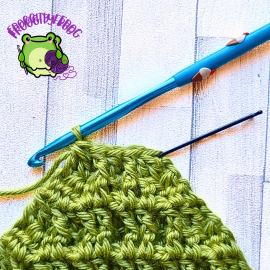
Finishing Row. Turn and ch1. Make a dc5tog over all 5 st, with the 3rd part being a fpdc.
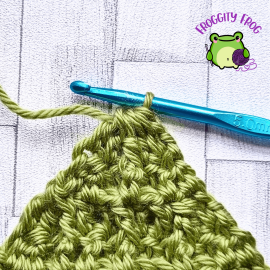
You can now cut off your yarn and weave in your ends.
Tips and Troubleshooting
Why does my corner look pointy?
If you followed the decrease repeat right to the end of the corner, you will get a very pointy corner that just doesn’t look right. There is a final row that needs to be made once you have 5 stitches left to make sure that you have a normal-looking corner. You can find the details in the stitch instructions above.
Can I start the decrease on a different row?
You can, but it needs a transition row from the increase to the decrease, and the corners at the side don’t look as good as the method above.
Can I use different colours in this stitch?
Changing colours during the C2C Waffle stitch doesn’t look overly neat. This is because we’re using a combination of front post stitches and double crochet stitches, so the colour change doesn’t look like it follows a straight line. You could use stripy yarn with a short colour change to get around this issue.
Can you make a rectangle from this stitch?
Yes – once you’ve got the width you need, you use the increase on one side of your piece and the decrease on the other. This will make a rectangle shape, and then when you have the length you need, you make the decrease on both sides to finish off.
How to Add a Border to the C2C Waffle Stitch
To add a border to the C2C Waffle stitch, you need to treat the rows in pairs. You make 1 single crochet into the side of the first row and then make 2 single crochet into the side of the next row – it doesn’t matter which row has the 1 stitch as long as you use this pattern of stitches. When you reach the corners, make 3 single crochet into the corner before continuing the pattern of border stitches.
I would recommend adding a round of single crochet stitches before adding a fancier border, but because the Waffle stitch is so textured, I would suggest that a plain border would suit this stitch better.
More Stitches Like This
If you enjoyed crocheting the C2C Waffle stitch, then you might enjoy these stitches too:
- C2C Waffle Shell – a variation of the Waffle stitch that keeps some of the texture but uses shells in between the ridges.
- Alpine stitch – another crochet stitch that is highly textured and uses front post stitches to create its distinctive look.
- C2C Raised Pineapple – a highly textured C2C stitch that uses puffs to create its texture but is made using the C2C block technique.
C2C Waffle Stitch FAQs
Is the C2C Waffle stitch good for beginners?
It would be a bit of a challenge for beginners just because of the increases and decreases. But if you’re ready to expand your skills more, then give it a go – you can crochet it with me by watching the videos, which can make it easier to follow along.
Does it look the same on both sides?
No, the C2C Waffle stitch is a one-sided stitch with all of the distinctive texture on one side only.
Is there a left-handed version?
Yes, you can watch the left-handed video here.
Can I make it in rows instead?
Yes, you can find my stitch guide on how to make the Waffle stitch in rows here.
Find More Free Crochet Stitches
For more stitch guides, go and explore my free crochet stitch dictionary. The stitches are separated into different categories to make it easier for you to find the stitches that you’re interested in making.


0 Comments