
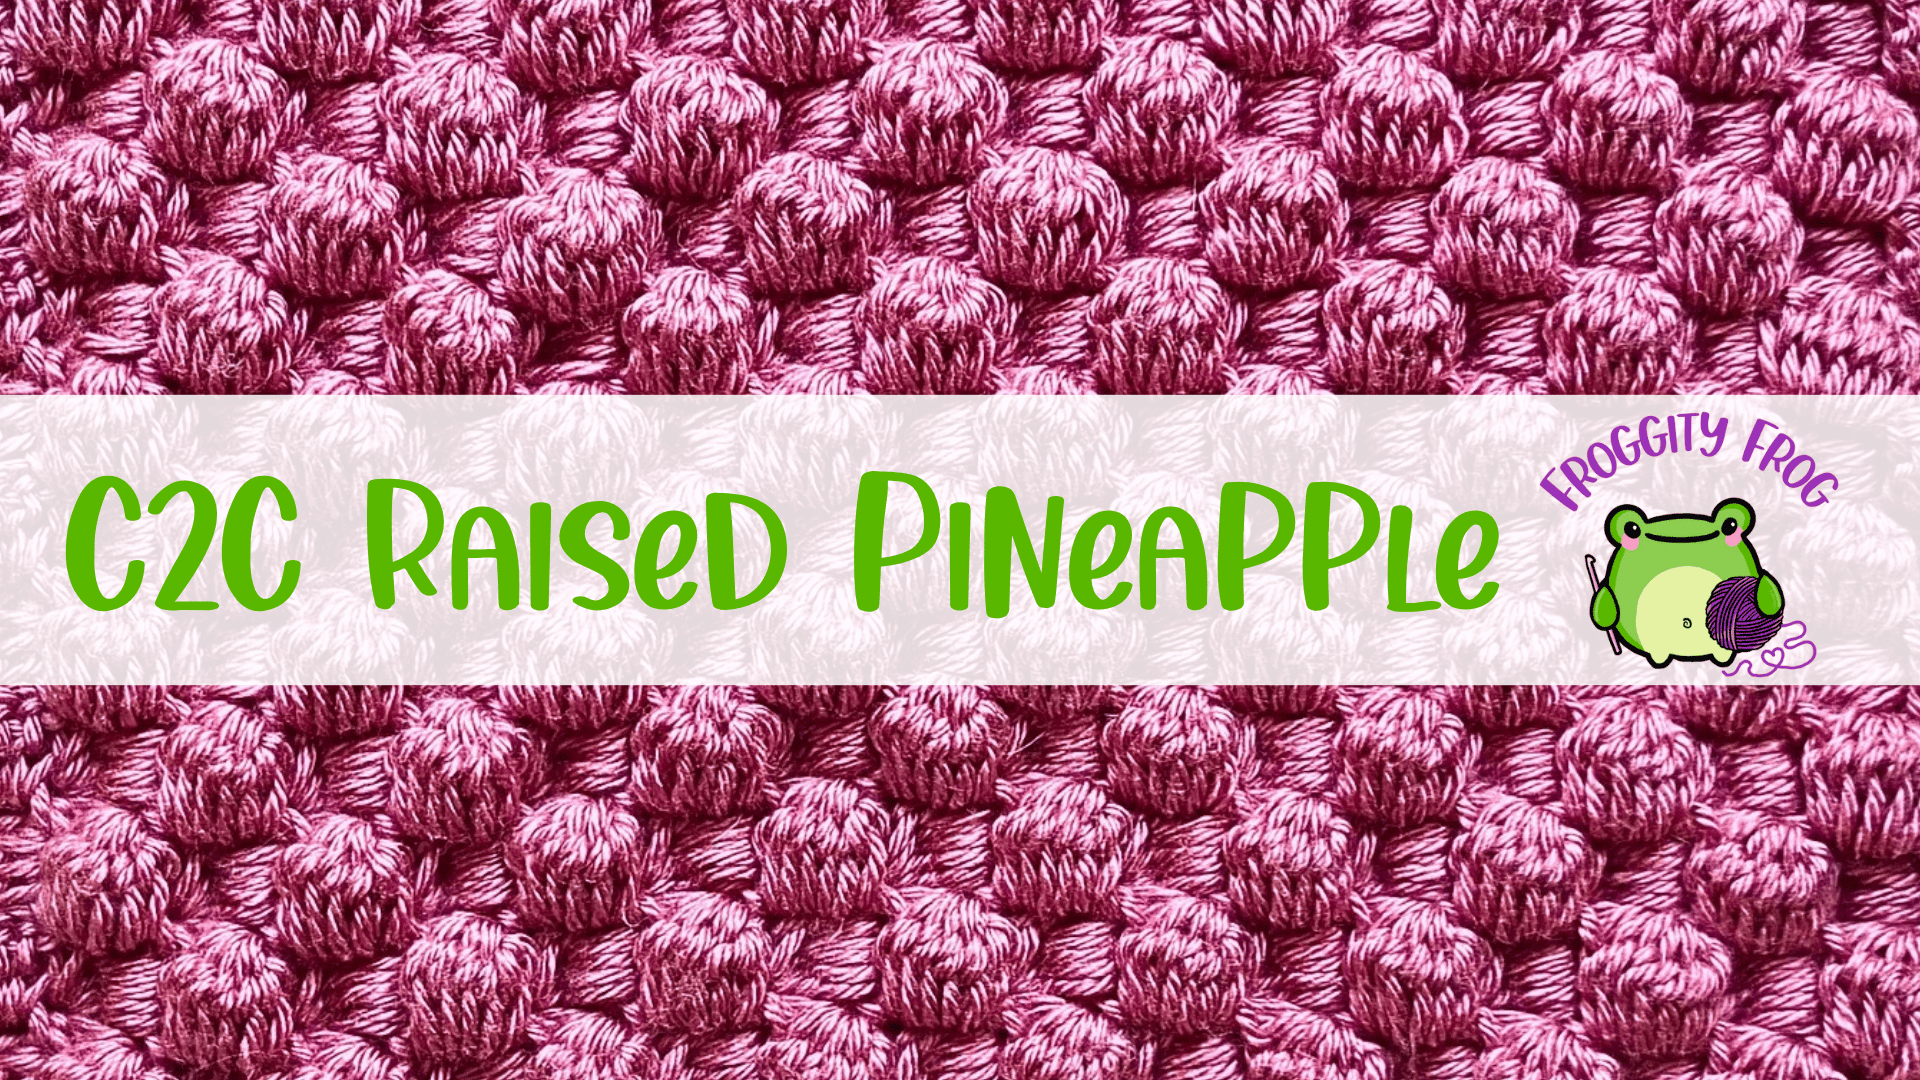
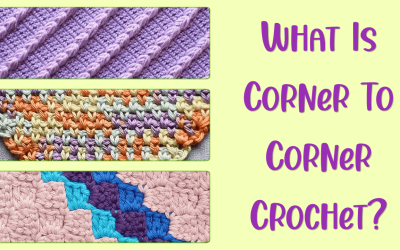
Are you bored of the traditional Corner-to-Corner (C2C) stitch but love the way it works up? I knew that more could be possible than what I could find online, so I started developing my own C2C-style stitches, including the C2C Raised Pineapple stitch, so that you can have more fun with these types of stitches too. It is made in the same way as the traditional C2C stitch using blocks that are made on the diagonal, but it’s a C2C puff stitch that’s thick with loads of texture. I’ll tell you all about it below and give you the full instructions, including video, on how to make it for yourself, which you won’t find anywhere else.
C2C Raised Pineapple Stitch Video Tutorial
You can watch the videos below to crochet the C2C Raised Pineapple stitch with me, or keep reading for the written instructions
Click here for the left hand video
What Is the C2C Raised Pineapple Stitch?
The C2C Raised Pineapple stitch is a big, thick puff stitch made in the corner-to-corner style. I wanted to use some big statement puffs, and after making the Raised Pineapple stitch in rows, I realised that this could be the stitch that I was looking for to create a C2C stitch with a difference.
Most C2C stitches, like the Diagonal Box – the stitch that you think of when someone says C2C stitch – look the same on both sides, so it doesn’t matter that you turn your work after every row. The Raised Pineapple stitch is different because it only puffs up on one side, and the back is fairly flat. When you work it in the C2C style, you still turn after every row, so one row shows the puffy side and the next row shows the flat side. Because C2C rows run diagonally, those alternating rows line up into a checkerboard effect, with flat squares sitting between the puffs, and that’s what makes the puffs stand out so much and look like big squishy pillows.
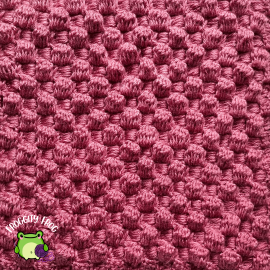
Why You’ll Love the C2C Raised Pineapple Stitch
The C2C Raised Pineapple stitch is a fun crochet stitch to make, and there’s a whole list of reasons that you’ll love it.
It’s so thick and warm, as those puffs are going to trap all the heat inside or underneath the fabric. If you love having a heavy weighted blanket to sleep with, then this is the perfect stitch because it uses so much yarn to make, which makes it very heavy. But despite the weight, it’s not dense – it’s very squishy, which makes it lovely for snuggling up in too.
This stitch would also be ideal for making chair cushions, as those puffs create a perfect cushion without stuffing. But if you do add stuffing in between two layers for extra comfort, you’ll just sink into them.
Then there’s how eye-catching this stitch is. It’s a big statement stitch and could be used to add an interesting border around a plainer C2C blanket if you don’t want to make an entire project with this stitch.
A word of warning, though: the larger your C2C Raised Pineapple piece gets, the more fiddly it gets to make. This is because of how thick the fabric gets, and it can get a bit awkward to hold in your hands as it grows in size. This stitch also uses a lot more yarn than you might expect, using at least three times the amount that the regular C2C stitch uses. It’s one of the biggest yarn-eating stitches I’ve ever made, with only the Crocodile and Nest stitches using more than the C2C Raised Pineapple.
This article contains affiliate links, I may receive a commission for purchases made through these links. As an Amazon Associate, I earn from qualifying purchases.
What I Used
To make the swatch you see in the pictures and video, I used Caron Simply Soft – a worsted weight yarn – and a 5mm (US H-8) hook. I created this stitch for my Study of Corners Crochet Along, and this is the yarn I chose to use for this CAL pattern, as it’s a nice soft yarn for a blanket and is thick enough to make a large blanket fairly quickly.
You can use any weight of yarn that suits you to make the C2C Raised Pineapple stitch, and use the hook size that the yarn recommends.

How to Crochet the C2C Raised Pineapple Stitch
Abbreviations
All abbreviations are in US terms
- Ch = chain
- St = stitch
- Slst = Slip Stitch
- Chsp = Chain Space
- YO = Yarn Over
- Dc = double crochet
You can follow the written instructions below, or follow along with the videos above.
Start by making a foundation chain of 6.
Row 1. In the 4th ch from your hook make a dc. Make a dc in each of the next 2 ch – 1 C2C Block.
Row 2. Turn and ch6. In the 4th ch from your hook make a dc. Make a dc in each of the next 2 ch. Slst into the chsp of the block in the previous row and ch3. Make 3dc into the chsp – 2 C2C Blocks.
Row 3. Turn and ch6. In the 4th ch from your hook make a dc. Make a dc in each of the next 2 ch. Slst into the chsp of the block in the previous row and then ch3.
Now we make a Raised Pineapple – *YO and pull up a loop. YO and pull through 2 loops only*
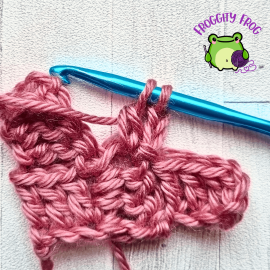
Repeat between *and* 5 more times. You should end up with 7 loops on your hook.
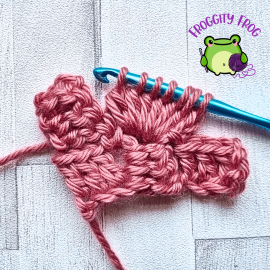
To finish your Raised Pineapple, YO and pull through all loops on your hook.
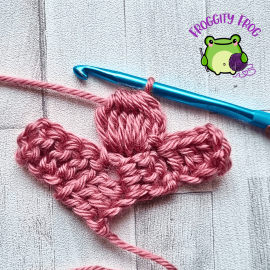
To continue the row, Slst into the chsp of the block in the previous row and ch3. Make 3dc into the chsp – 2 C2C Blocks and 1 Raised Pineapple
Your Pineapple will puff out on the back side.
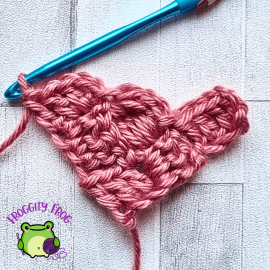
To continue the increase – Turn and ch6. In the 4th ch from your hook make a dc. Make a dc in each of the next 2 ch.
*Slst into the chsp of the block in the previous row and then ch3. Make a Raised Pineapple as your next block*.
Repeat between *and* until you have 1 block left to make in the row.
To complete the last block of the row, Slst into the chsp of the block in the previous row and ch3. Make 3dc into the chsp – Each row will have 2 C2C Blocks and you will add 1 more Raised Pineapple block per row.
Continue working the repeat of this row until you have as many rows as you need for your increase.
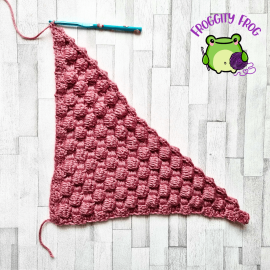
Now we start the decrease.
The decrease repeating row. Turn and make a slst into each of the 3 dc of the previous block. Slst into the chsp of that block and ch3, then make 3dc into the chsp.
*Slst into the chsp of the block in the previous row and then ch3. Make a Raised Pineapple as your next block*.
Repeat between *and* until you are 2 blocks away from the end of the previous row. Slst into the turning ch of the last but one block of the previous row, ch3 and make 3 dc into the chsp. Slst into the turning ch of the last block of the previous row – Each row of the decrease will have 2 C2C Blocks and you will lose 1 Raised Pineapple block per row.
Penultimate row – Turn and make a slst into each of the 3 dc of the previous block. Slst into the chsp of that block and ch3, then make 3dc into the chsp. Slst into the turning ch of the last but one block of the previous row, ch3 and make 3 dc into the chsp. Slst into the turning ch of the last block of the previous row – 2 C2C Blocks
Last row – Turn and make a slst into each of the 3 dc of the previous block. Slst into the chsp of that block, then make 3dc into the chsp. Slst into the turning ch of the last block of the previous row – 1 C2C Block
You can now cut off your yarn and weave in your ends
Tips and Troubleshooting
Why are the sides of my C2C bulging?
When making your C2C Raised Pineapple piece, you might feel like the sides are bulging too much and it’s not working out right. But this is because of the puffs stretching out. When you’re making it and pulling the crochet in different directions to make your stitches, the puffs will stretch and flatten out. This means the edges won’t be as straight as you expect. But once you’re finished and give it a massage into place, the puffs will regain their shape and the sides will straighten out.
Joining a new ball of yarn
When you get to the point of needing a new ball of yarn, it’s easiest to join it in when slip stitching into the next stitch before starting your next Raised Pineapple stitch.
Making the checkerboard stand out
If you want to take advantage of the checkerboard effect and make that stand out more, you could change colour every row and stick to using just two colours. This would make all your flat stitches one colour and all your puffs the second colour.
How to Add a Border to the C2C Raised Pineapple Stitch
To add a border to your C2C Raised Pineapple piece, you first need to add a setup round of border stitches.
Join into any space between the blocks with a standing sc. *ch2, sc in between the next block*. Repeat between *and* until you reach the corner.

At the corner, ch2, then make (sc, ch2, sc) in the corner st, then ch2 and sc in between the next block.

Continue the repeating pattern all around your blanket until you get back to the starting standing sc of the round. Slst into it.
To add the next round of stitches, you will work 2 stitches in every chain space, ignoring the single crochets. This gives you an even border and makes your C2C blocks sit neatly together.
With a stitch as highly textured as the Raised Pineapple, I would use a simple border of a few rounds of single crochet so that nothing distracts from the main stitch.
More Stitches Like This
- C2C Moss stitch – a much simpler C2C-style stitch, but it still works up beautifully and it’s a nice twist on a popular crochet stitch.
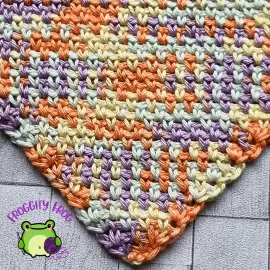
- The Crocodile stitch – another yarn eater of a stitch and very distinctively eye-catching. More challenging to make, though.

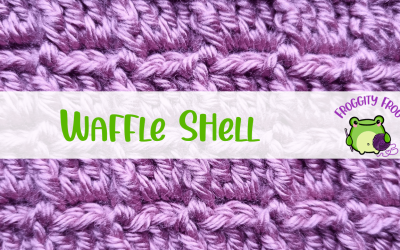
- C2C Waffle Shell stitch – another stitch that I’ve developed myself in the C2C style. This one is much flatter and uses far less yarn.

C2C Raised Pineapple Stitch FAQs
Is the C2C Raised Pineapple stitch good for beginners?
If you’ve learned how to make the traditional C2C stitch (stitch guide here) and are comfortable making puff stitches, then you’ll be able to make this stitch.
How much yarn does the C2C Raised Pineapple stitch use?
A LOT! It uses at least three times as much yarn as a flat, non-textured stitch like the traditional C2C stitch.
Are there left-handed instructions for this stitch?
Yes, I have a left-handed video to walk you through it here.
Can I make the Raised Pineapple stitch in rows instead of C2C?
Yes, but it will look very different. Made in rows, it looks like large puff stitches with single crochet stitches in between, and the stitch is made over several rows of stitches too. The technique of making the Raised Pineapple is the same, but the construction of the whole piece is vastly different.
Does the C2C Raised Pineapple stitch look the same on both sides?
Sort of. A single Raised Pineapple stitch looks different on each side, but when you make several rows, you will have puffs showing on both sides, just in alternate rows.
Find More Free Crochet Stitches
For more crochet stitch guides, check out my free online stitch library here. It is split into sections so you can explore the different types of stitches, from puffs to shells to hole-free stitches and more.

0 Comments