
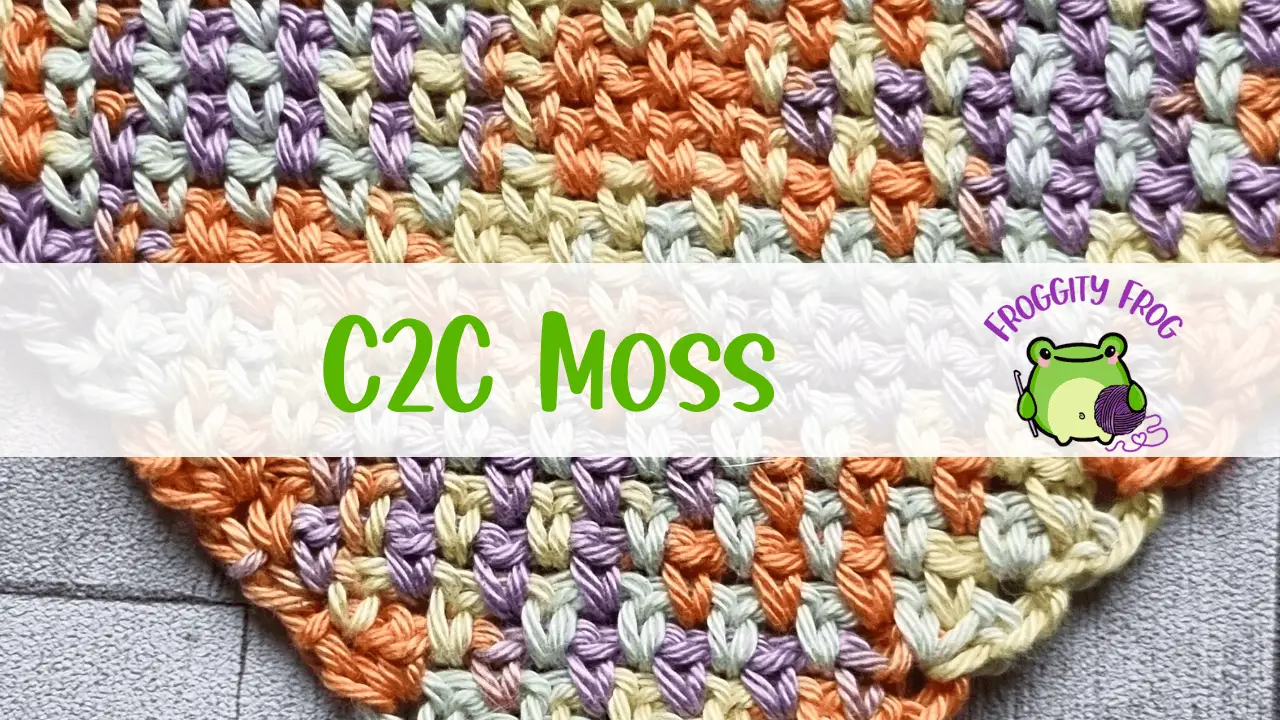
We all know and love the Moss stitch – or maybe you know it as the Linen or the Granite stitch. But did you know that you can make it in the corner-to-corner (C2C) style? Let’s look at how to crochet the C2C Moss stitch.
The Moss stitch is one of my favourite stitches to use. So much so that I’ve used it in every crochet along I’ve done. C2C Moss will of course be appearing in my latest crochet along, The Study Of Corners which starts on 24th July 2026. If you’re interested in trying out over 20 different C2C stitches, then come and join in. You can find all the details for the project here.

This article contains affiliate links, I may receive a commission for purchases made through these links. As an Amazon Associate, I earn from qualifying purchases.
What is the C2C Moss Stitch
Corner-to-corner (C2C) is where you start working in one corner, increase the stitches in every row until your fabric reaches the width you need, then you decrease the stitches in every row, finishing by making the last corner – opposite to where you started.
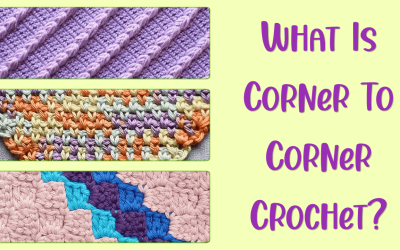
So when you turn your finished piece so you look at it as a square, all the rows are on the diagonal giving you a different visual look to the regular Moss stitch, but it’s just as easy to crochet.
What Can You Make With It
The C2C Moss stitch, just like the regular version made in rows, has so many uses. It can be used to make blankets, sweaters, scarves, hats, table runners and so much more.
When it comes to choosing your yarn, the options are all open. The C2C Moss stitch looks fabulous when made in a single solid colour, when you change colour every row or when using a multicolour yarn.
This is one of the most versatile stitches around that suits any kind of yarn or colour combination.
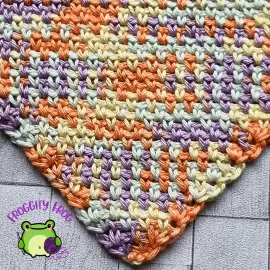
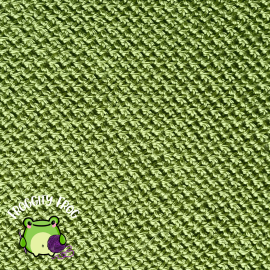
For the sample in the picture below I used Lana Grossa Cotone 325 for this piece, a 100% mercerised cotton yarn that is multicoloured. It comes in a large range of colourways, although the Cotone range isn’t easy to get hold of as only limited outlets seem to carry it.
This how to guide is part of Froggity Frog’s Stitch Vault collection. Have you seen all the other stitches in there? You can take a look here all the guides are free to access and maybe you will discover some new stitches to create for yourself.
What You’ll Need
One of my favourite things about this stitch is that you don’t need stitch markers. The end of each row is easy to find because you’re working in a chain space rather than into a stitch.
When choosing what hook size to use, think of how you want your fabric to look.
If you choose a hook size larger than your yarn recommends then you’ll get a more open fabric where the gaps under the stitches are more pronounced making it more lacey.
If you choose a hook smaller than what your yarn recommends, then you’ll end up with a tighter more solid fabric where the gaps are far less noticeable.
The yarn I used in the pictures of this stitch guide below is Stylecraft Cotton Classique DK, a 100% cotton yarn. It’s a non mercerised cotton that is lovely and soft, but it can get a bit splitty if you frog it a couple of times. It does makes lovely cosy blankets though and is the yarn that got me hooked on cotton as my fibre of choice. I think I first got a ball of this yarn in a mystery bag I got off Ebay, and it was a great yarn discovery for me and I’ve been loving using this yarn ever since.
I also used my trusty Clover Amour hooks which are perfect if you are looking for a good value ergonomic crochet hook that won’t cause your hand to ache if you are crocheting for long periods of time. I’ve tried many different crochet hooks over the years, but I always end up coming back to my trusty Clovers. They just sit so well in my hand and never let me down.
How To Crochet The C2C Moss Stitch
The written instructions are below, but you can also crochet this stitch with me using the video guides. There are left-handed and right-handed versions for you to choose from.
Click here for the left hand video
Abbreviations
- Ch = Chain
- Sk = Skip
- St = Stitch
- Sc = Single Crochet
- Hdc = Half Double Crochet
Start by making a foundation chain of 3
Increase Row 1. Make a sc in the 3rd ch from your hook
Increase Row 2. Turn and ch3. In the ch3 space make (sc, ch1, sc) all in the same sp
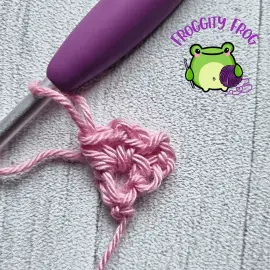
Increase Row 3. Turn and ch3. Make a sc in the ch1 sp and then ch 1. In the ch3 space make (sc, ch1, sc) all in the same sp.
Increase Row 4. Turn and ch3. Make a sc in the first ch1 sp and then *ch1 and make a sc in the next chsp* Repeat between *and* finish the row by making (sc, ch1, sc) all in the ch3 space.
Repeat row 4 until your your piece is as wide as you need.
Now we’ll start the decrease
Decrease Row 1. Turn and ch3. Make a sc in the first ch1 sp. *ch1 and make a sc in the next chsp* Repeat between *and* Finish the row by making (sc, hdc) in the ch3 space.
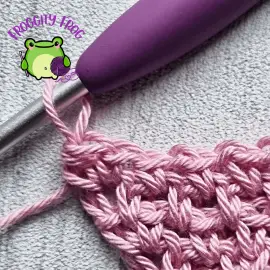
Decrease Row 2. Ch 2 and sk the first 2 st *in the next chsp make a sc and then ch1* repeat between *and* when you reach the last ch 1 sp, make a sc but DON’T ch1. Make a sc in the ch 3 sp.
Decrease Row 3. Ch 2 and sk the first 2 st *in the next chsp make a sc and then ch1* repeat between *and* when you reach the last ch 1 sp, make a sc DONT ch1. Make a sc in the ch 2 sp
Repeat decrease row 3 until you only have 3 sc left in your row
Decrease Row 4. Turn and ch2. Make a sc in the next ch sp, then make a sc in the ch2 sp.
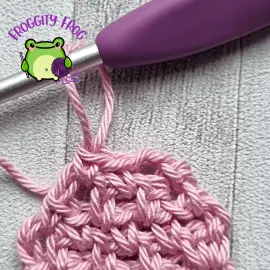
Decrease Row 5. Turn and ch1. Make a sc in the ch2 sp.
Your C2C Moss square is now complete. You can cut off your yarn and weave in your ends.
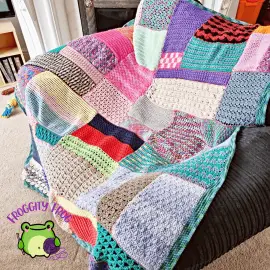
I used the C2C Moss stitch as one of the pieces in the scrappy quilt like FrankenScrap crochet along – find out more about this free pattern here, and join in and access the entire pattern for free.
To explore more crochet stitches, come and check out my stitch vault. There are over 100 stitch guides in there waiting for you to discover them.
Not sure where to start? Download my free guide on 7 overlooked crochet stitches worth trying.
Don’t forget to come and join my Facebook group – Froggity Frog’s Ribbit And Stitch to connect with other crocheters from around the world.

0 Comments