
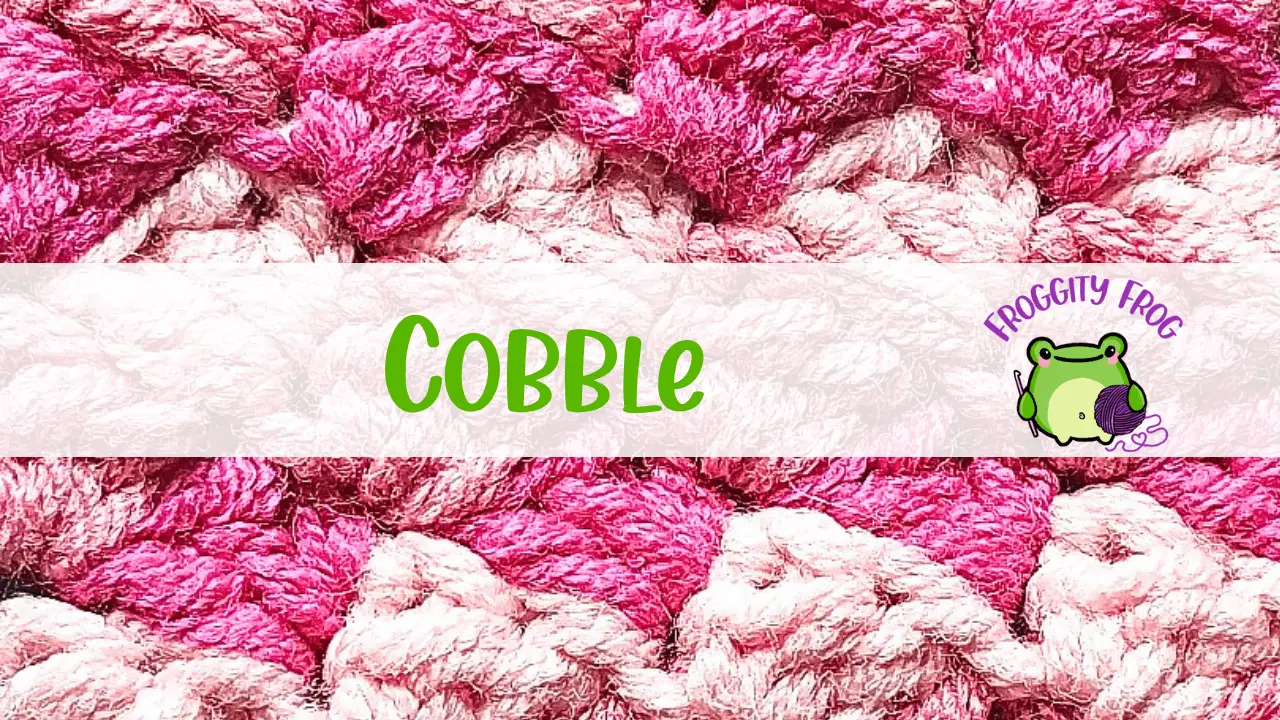
The Cobble stitch is an easy crochet stitch that creates interlocking wedge shapes for a beautiful look that really pops if you use several different colours. In this stitch guide I will show you how to crochet the Cobble stitch with all the pictures that you need along with a video guide that you can follow along with too.
This article contains affiliate links, I may receive a commission for purchases made through these links. As an Amazon Associate, I earn from qualifying purchases.
I first used the Cobble stitch in the Ray Of Hope Crochet Along as one of the outer rays of the mandala. You can follow that pattern for free here 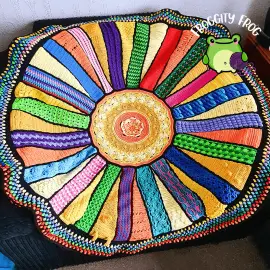
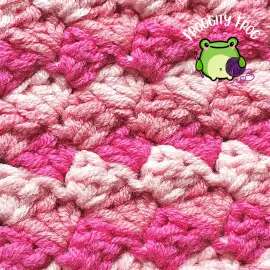
The Cobble stitch really comes into its own when you use multiple different colours for your project. I chose to use 3 different colours so that I could carry the yarn up the sides and avoid having too many ends to weave in. It is an easy stitch with a repeat that is simple to remember.
The Cobble stitch is a hole free crochet stitch that works up quickly and is super easy to keep track of the stitches. This stitch would suit a variety of projects including blankets, clothing, accessories and so much more besides.
For the sample in the picture below I used Scheepjes Softfun a cotton blend yarn which gives fabulous stitch definition. The colours of Scheepjes Softfun are so vibrant too which makes any crochet project you make with it look super stunning.
This how to guide is part of Froggity Frog’s Stitch Vault collection. Have you seen all the other stitches in there? You can take a look here all the guides are free to access and maybe you will discover some new stitches to create for yourself.
The yarn I used in the pictures of this stitch guide below is Stylecraft Special DK, an acrylic yarn that is great value and comes in a huge variety of colours. It is a very popular yarn because it is so widely available and will suit most budgets. It is a soft light worsted / double knit yarn that slides easily over your hook and doesn’t split and frogs well.
I also used my trusty Clover Amour hooks which are perfect if you are looking for a good value ergonomic crochet hook that won’t cause your hand to ache if you are crocheting for long periods of time. I’ve tried many different crochet hooks over the years, but I always end up coming back to my trusty Clovers. They just sit so well in my hand and never let me down.
How To Crochet The Cobble Stitch
Click here for the left hand video
Abbreviations
- Ch = Chain
- St = Stitch
- Sk = Skip
- Sc = Single Crochet
- Hdc = Half Double Crochet
- Dc = Double Crochet
Start by making a foundation chain in multiples of 3 plus 1 (plus 1 for your turning chain)
Row 1. In the 3rd chain from your hook (turning chain counts as a sc) make a hdc. In the same stitch make a dc. *skip 2 stitches and make a sc, hdc, dc all in the same stitch* repeat between *and* until you have 3 stitches left. Skip 2 stitches and make a sc in the last stitch and change colours.

Row 2. Turn, ch1 and in the first stitch make sc, hdc, dc all in the same st. *Skip 2 stitches and in the next stitch make sc, hdc, dc* repeat between *and* until you have 3 stitches left. Skip the next 2 stitches and make a sc in the last stitch and change colour.

Repeat row 2 until you have as many rows as you need.
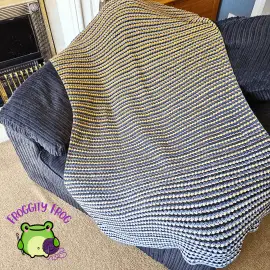
If you’re interested in a crochet pattern that uses the Cobble stitch, then check out my free crochet pattern The Cobbled Road Blanket. This uses 3 yarn cakes to create the beautiful ombre look that works it’s way up the blanket as you stitch. Access the free pattern here
How To Add A Border To The Cobble Crochet Stitch
The Cobble stitch is made up entirely of rows that start and end with a single crochet. So to add a border you just need to make one stitch into the side of every row. I always recommend that you make a round of single crochet stitches around your piece first before adding any border pattern that you have planned, as doing this just helps to even your stitches out and make a nice solid round to add any further stitches into.
I used the Cobble stitch as one of the pieces in the mandala like Ray Of Hope Crochet Along – find out more about this free pattern here, and join in and access the entire pattern for free.
You can find more free crochet stitch guides here in Froggity Frog’s stitch vault. Come on over to our Facebook group – Froggity Frog’s Ribbit And Stitch and show us what you made with the Cobble stitch. I’d love to see what you created with this crochet stitch.
Don’t forget to sign up to our newsletter to be the first to know about new stitch guides and new crochet pattern releases. You can sign up here and be the first to see what I’ve got cooking behind the scenes here at Froggity Frog.

0 Comments